


Start to finish. Pictures, video and x-rays correlation. Please comment with your recommendations for missing essential elements. (originally presented for the 65th Annual (virtual) Colombian Society for Orthopaedic Surgery and Traumatology, December 2020)
Filed under
Transcript
1,823 words · 10 min · 2 speakers
Transcript
1,823 words · 10 min · 2 speakers
Speaker 1Welcome, doctor. He will tell us about his technique.
Speaker 1Of direct Anterior approach. Welcome,
Speaker 1doc.
Speaker 2Thank you. Thank you so much. It's a, it's a pleasure to be here. Um, it's, uh, only slightly earlier where I am, and I certainly wish we were all together, uh, to generate, um,
Speaker 2Generate more discussion. Nonetheless, I'm, I'm, I'm thankful for the opportunity. We're, we're gonna discuss quickly. We only have a few minutes here. We're gonna discuss qui quickly the Anterior approach. I hope you can see my screen and somebody will notify me if you cannot, but the Anterior approach. I am a consultant for Stryker. Uh, I, I do work in the ASC and have equity stake and, and, uh, on the editorial board for several, uh, orthopedic journals here in the US.
Speaker 2That I, I was able to gather and collect this, um, this talk based on some work from Depew and J&J on the animation, as well as my staff. The Anterior approach is not new, it's been described for years. Joel Matta really in 2005 brought it, at least, um, uh, raised the awareness in the US and it's really this paper of 500 hips, and he essentially, uh, reported a low dislocation rate.
Speaker 2At that point, there was some interest. We've, we've, we've heard an incredible talk today talking about different approaches and specifically uh anterior versus posterior, and I would refer you to that previous lecture for further discussion. I wanna focus largely on the technique. There have been some advantages, some disadvantages. I thought the, the, the, the summary comment of always do what you feel most comfortable with is so important, but I use this.
Speaker 2Now the Anterior approach in about uh uh about 90% of my patients. The superficial interval, uh, is between the sartorius and tensor fascia, Deeper it's the rectus and the gluteus medius. This is, of course, uh, uh, inner nervous planes. The dangers, and again, I think all these are known, uh, largely, but we'll highlight these through the procedure, the lateral femoral cutaneous nerve, the ascending branch of lateral, uh, femoral.
Speaker 2uh, circumflex artery and then deeper, of course, the, uh, femoral neurovascular structures. So let's just get into it. Templating is really, uh, uh, no different. It's based on your, uh, specific preference. This is me templating really, really fast, uh, in an old-school way as you can see. The incision's 1 centimeter distal and 3 centimeters later, lateral DASIS. I use a slightly longer incision in males. This is just me.
Speaker 2Going through the marking intraoperatively. Uh, you, you'll see me several times during this procedure referencing the ASIS, an important landmark mark for this procedure. Again, I'm going 1 centimeter distal, 3 centimeters lateral or posterior, uh, whatever term, uh, we feel is best, and then 9 or 10 centimeters based on, um, female or male population. It's really right over the, the tensor, about the, uh, posterior, uh, third of the tensor.
Speaker 2And then, uh, off we go. This is an animation I think is very helpful with regard to a discussion of the anatomy. Uh, there's the incision that we just discussed. Uh, you'll see here in the picture, they label several things for us, sartorius, rec rectus, lateral femoral cutaneous. It's in the fascia of the sartorius, we have to watch that. The vessels which you'll see, see here shortly, and then obviously the femoral, uh, neurovascular bundle.
Speaker 2It's important to know that once you're below that top, that, that most superior label, uh, um, layer between the sartorius and the tensor, it really is the vessels that come into play. I, I want, I wanna switch to, uh, a picture from the operating room, uh, to show you that here in a 2nd. 1st, this is just skin incision and then you just open the fascia over the tensor muscle. You can see the tensor muscle.
Speaker 2Just pops right up at you. Um, you gotta be careful not to cut the muscle, of course. Uh, you'll see me here in a second, uh, extend this, uh, approximately and discally simply with a finger, just opening that fascia. Again, the lateral femoral cutaneous nerve is in the fascia of the sartorius. So I'm opening the fascia of the tensor. I lift it up, uh, slightly here, and you'll see me just kind of work the tensor off.
Speaker 2The fascia. I continue to do this until I can develop that interval which we've discussed. And when you do that, uh, this is, this is what you'll see. So, uh, these are the vessels, the ascending branch of the lateral femoral cutaneous. Uh, I, I use Aquamanus here, you see, it traverses this plane. Again, tensor is lateral here and, um, uh, sartorius is under the hips anteriorly.
Speaker 2I coagulate those vessels, uh, cauterize them, and then move on. Once you do that, you're really staring at the capsule. This is the anterior capsule, uh, of the joint. This is me opening it, uh, proximally and distally. The key here, and you'll see me reference this several times during this talk, we tag the, uh, capsule, both inferior.
Speaker 2uh, and superior, uh, to facilitate, uh, our releases. It's already been mentioned that there's a significant Learning curve with the Approach that's well-documented in the literature. So I think there's a couple of areas during the procedure that I would highlight for you. This is obviously an animation of making the capsule, and again, I'm stressing the capsule because
Speaker 2You'll see it several more times here during the procedure. Once you open the capsule, you simply move your retractors, uh, within the wound. Uh, you can expose the, uh, the acetabulum. There's great exposure to the acetabulum with this Approach. Um,
Speaker 2Excuse me. Um, and, and then you're able to release the ligamentum teres.
Speaker 2That's what this maneuver is doing. Place a corkscrew in the femoral head and then perform your osteotomy. Again, this is the animation, uh, just because this can be a bloody part of the procedure, just cutting the bone. Um, and, and once the osteotomy is made, I make the initial osteotomy with the oscillating saw. Then take an osteotome at the neck greater trochanter interval to make sure that
Speaker 2We don't generate a Fracture. The head ball removes and then what you'll see here is exposure of the acetabulum. You're about to see this in an actual surgical video, but there's an anterior, um, retractor. There's a posterior retractor and really that's all I have in the wound at this part of the case. So let me orient you here. This is the posterior retractor behind the acetabulum. This is actually the, the, uh, transverse acetabular ligament.
Speaker 2This is the anterior retractor. This is the stitch on the inferior capsule. You'll see that I'm releasing the inferior capsule. It's really densities of both the ileofemoral and puofemoral ligament. It is this release that uh is uh so important in mobilizing uh the, these tissues. Here is the femur, by the way, again, just for orientation, behind my posterior retractor.
Speaker 2So then once you have the acetabinum fully exposed, this is me reaming. I, I do most of this, uh, uh, without imaging. You'll see me here in a second, move the image intensifier into the wound as I, uh, do my final reaming. And then in the next video, cup placement, you'll see the intensifiers down here at the bottom of the screen. I'm using it with live fluoro. You can see my team here, by the way. I am doing this procedure on a Hana table.
Speaker 2Um, so, uh, once you've done that, then it's about femoral mobility. This was also mentioned as a challenging portion of the procedure. I can tell you, once you've done the inferior release like we, we showed in the prior video, now you do the superior capsular release and the femur just kinda pops right up to you. You'll see.
Speaker 2In the animation here, how that superior capsule is released. Let me show you what that looks like in real life. First, this is the dislocation maneuver, external rotation of the Hip, and then you just drop the leg into extension and abduction. That's what it looks like in the operating room.
Speaker 2Uh, then what you see here, this, this stitch is on the superior capsule. So as I release the superior capsule off the attachment on the femur, you'll see that superior capsule start to lift away. Now, this is a critical element here. I'm swapping out my retractors. I'm going, uh, and placing this curved retractor, we call it a medium, uh, curved homen. It goes over the trochanter itself. So here's the femur here.
Speaker 2Uh, if you can see my cursor, here's just the base of the neck, if you will, right at, uh, that, uh, right at the trochanter neck junction.
Speaker 2Here's my bovie here and I'm lifting the tissue off the inner table of the trochanter. And as I do that, you'll see the femur just lift straight up out of the wound. You know, many people believe the piriformis inserts in the piriformis fossa. It's actually not true. Short external rotators and piriformis insert here on the trochanter. What inserts on the piriformis fossa is the operator externus, and I always leave that intact. Uh, that is where my suction tip is. So I, I release down to the, the region of the.
Speaker 2Suction tip. Uh, again, just a little bit more quickly, this is, uh, femoral preparation. You need to be, uh, back towards the piriformis fossa. I open it with a box osteotome that allows me access to the canal. You'll see here the trial reduction. Essentially, you put your trial components in, take your hook out, and then a reverse maneuver of the reduction maneuver like you saw. We have a picture here of what that looks like on the table. Here it is, the leg is in extension here.
Speaker 2Here you see me remove the hook. I, uh, pull on these two sutures. Again, that is the capsule. I have them lift the leg. Uh, it's initially externally rotated in here in 2 seconds. We will provide longitudinal traction, internal rotation, and, uh, reduce, reduce the Hip. So, uh, I, I, I didn't have time to really discuss the use of fluoroscopy. I use that in the supine position. Capsular closure is quite reliable. Once you close the capsule,
Speaker 2You simply lift your retractors out of the wound. This allows the sartorius and tensor to fall back together. Your final step here, you'll see me here in 2 seconds. Your final step is just to repair the fascia that you opened. It simply pulls over the tensor. Uh, thank you so much for the opportunity, uh, and I look forward to some further discussion in the next hour. Thank you.
Automatically transcribed and not checked by a person — it may contain errors, particularly in names, drugs and dosages. The recording is the source.
Check yourself
5 questions5 questions on what was actually said in this recording, and we remember how you did. Sign in to take it — an account is free, and nothing else on doc.social asks for one.
AI-generated from this recording’s transcript, not written by the speaker. Tell us if a question misreads what was said.
Related lectures
 Lecture
Outpatient Joint Replacement in 2020
Honest assessment of why and how to safely utilize outpatient joint replacement focusing on the US experience.
 Lecture
(2020) Robotics in THA: Why? How?
Current status of the use of robotics in Total Hip Replacement looking at the US experience.
 Lecture
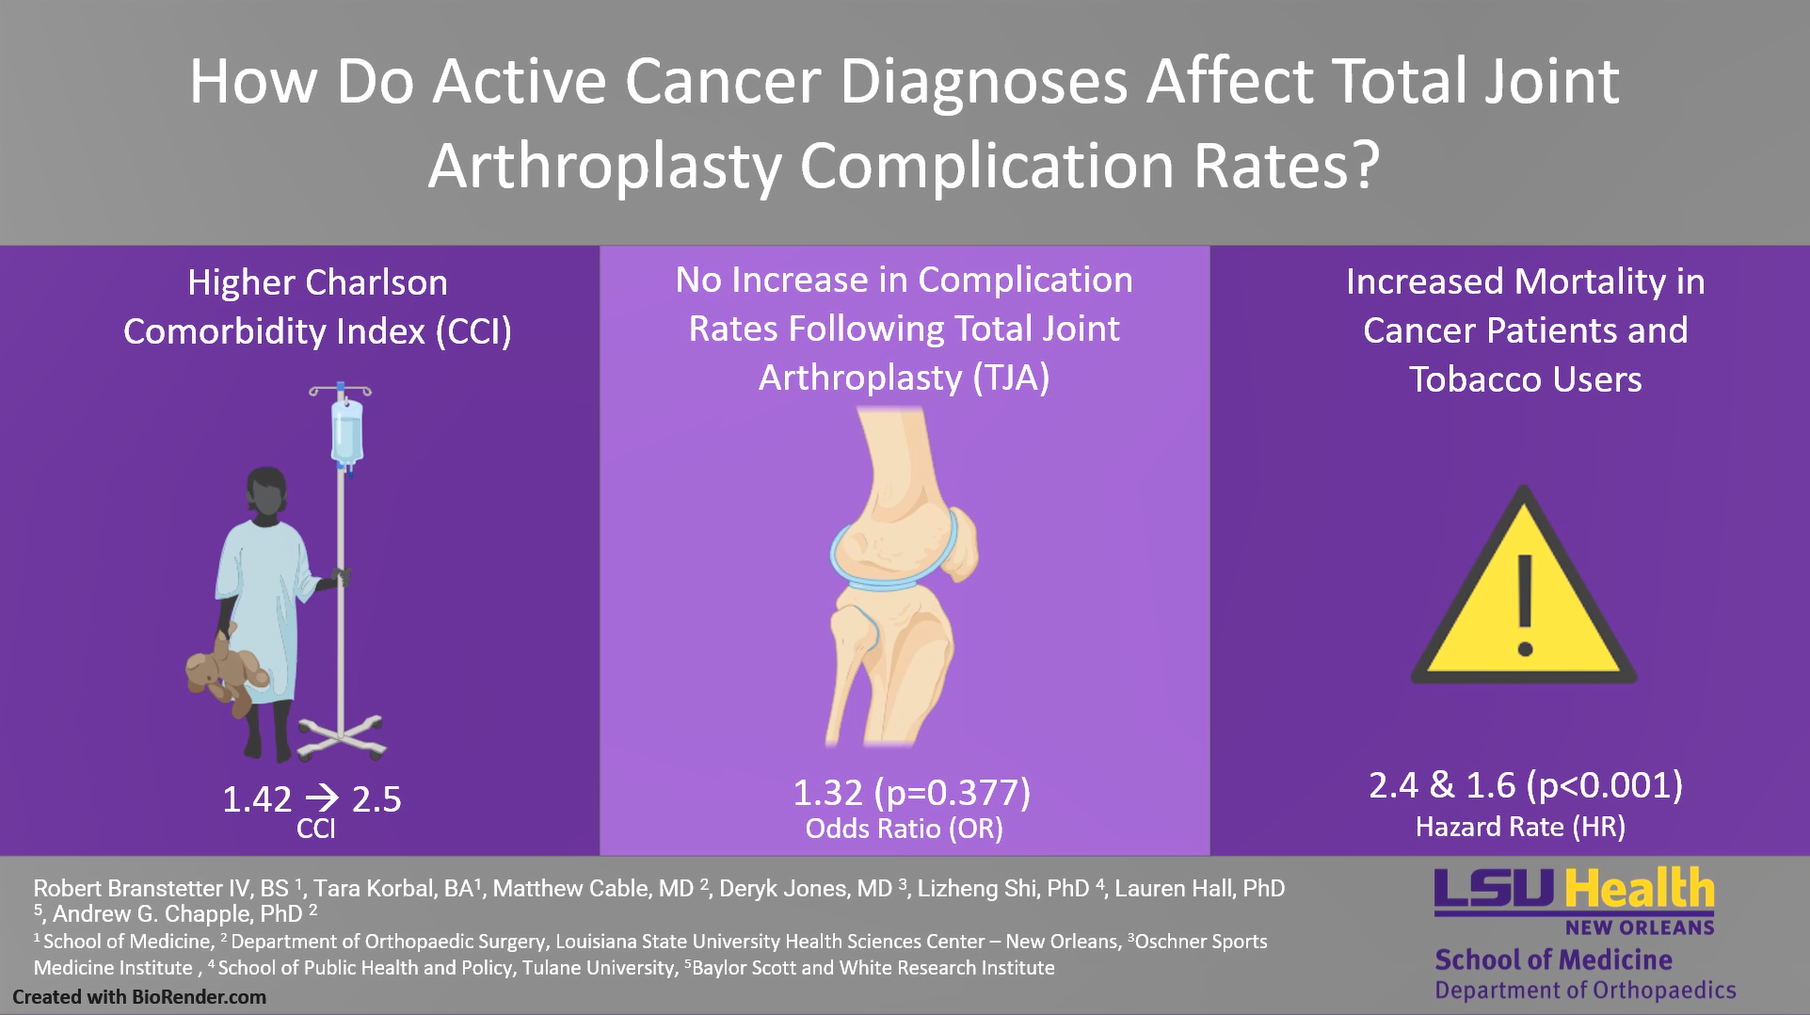
How Do Active Cancer Diagnoses Affect Total Joint Arthroplasty Complication Rates?
There is currently a paucity of data analyzing total joint arthroplasty (TJA) disparities among patients with active cancer diagnoses.